Creating Your Perfect Wabi-Sabi Workshop
A wabi-sabi workshop brings together the best of Ancient Japanese philosophy design principles with the functional demands of a modern workshop. The result is a space that's visually striking and perfectly suited for woodworking, repairs, projects, and hands-on crafts.
Why Wabi-Sabi Works for Workshops
Applying wabi-sabi design to your workshop creates an interesting dynamic where imperfect beauty meets sturdy workbench placement. This combination works because wabi-sabi principles of find beauty in imperfection can be adapted to enhance woodworking, repairs, projects, and hands-on crafts while maintaining visual appeal.
About Wabi-Sabi Design
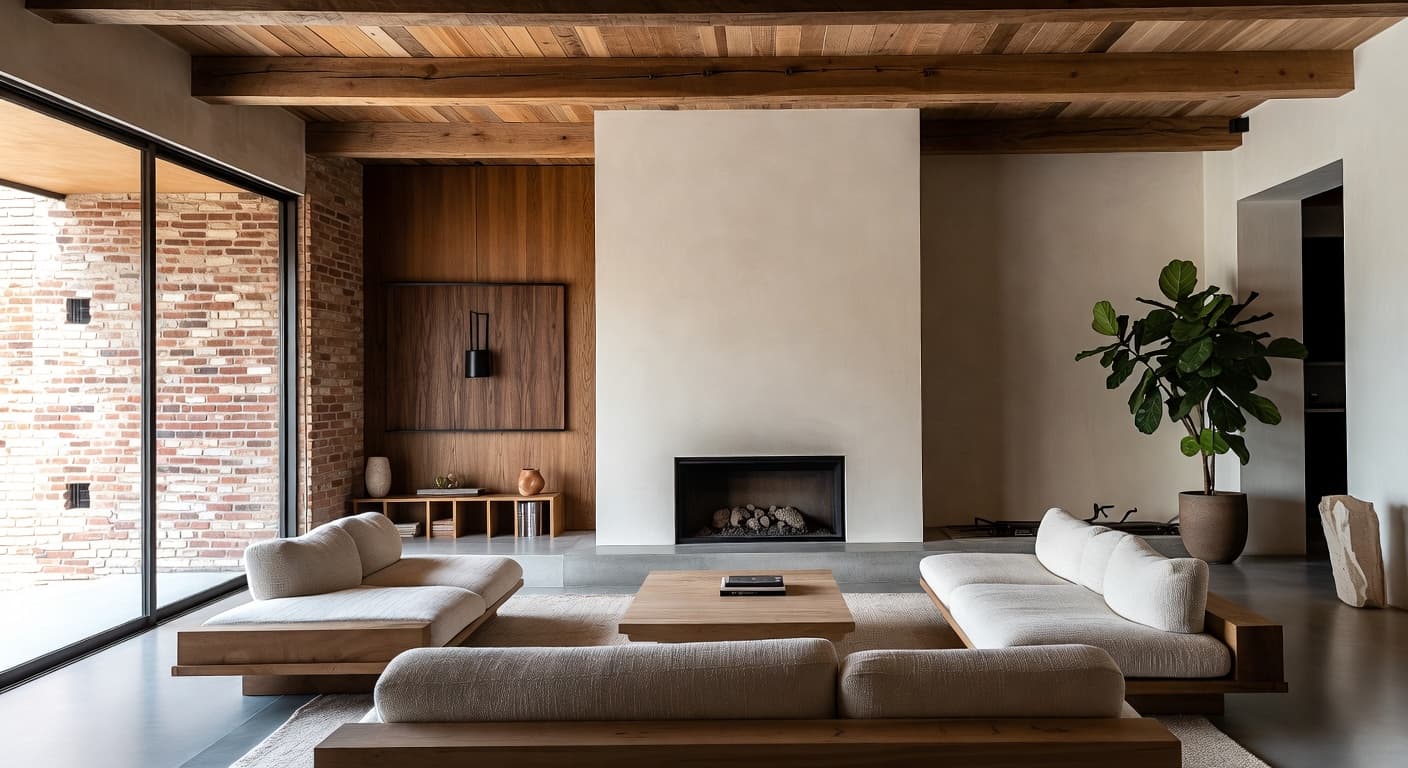
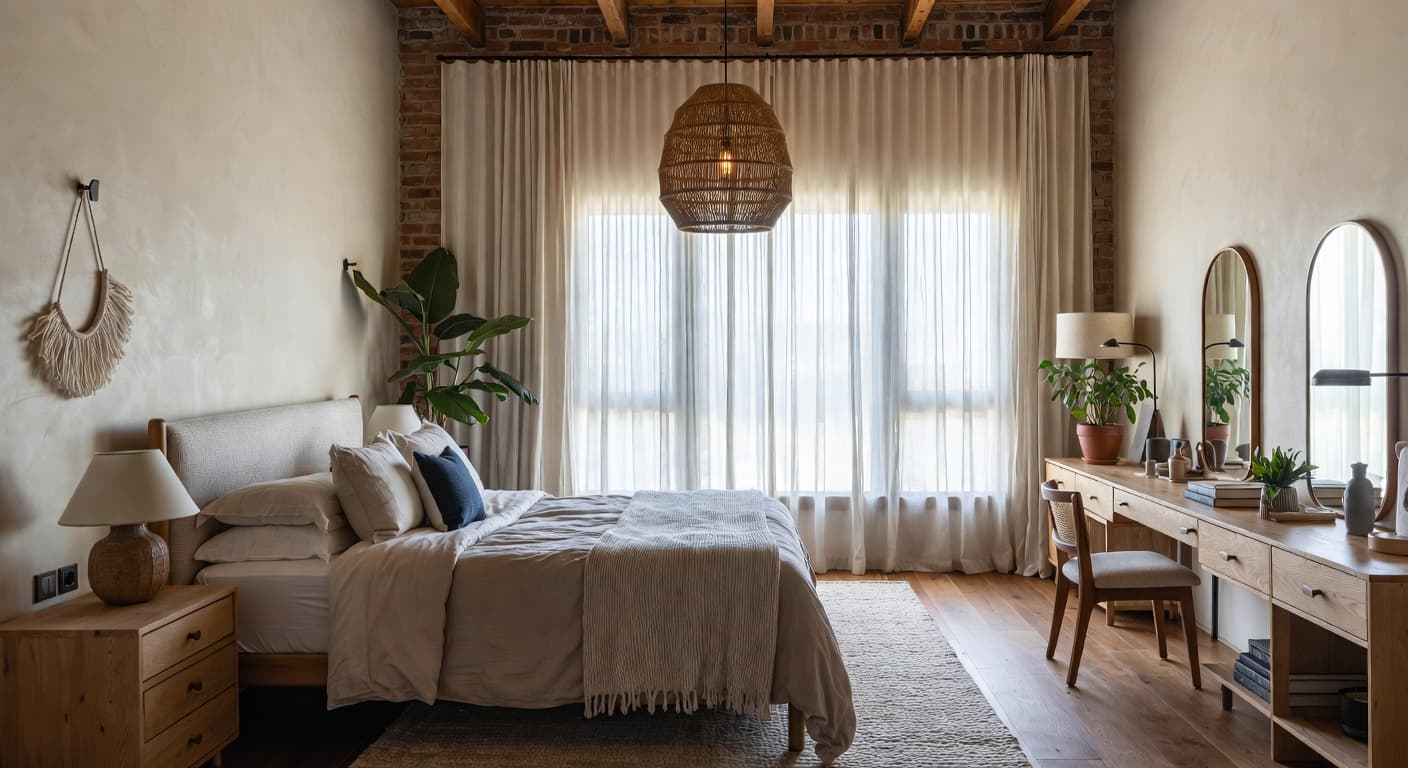
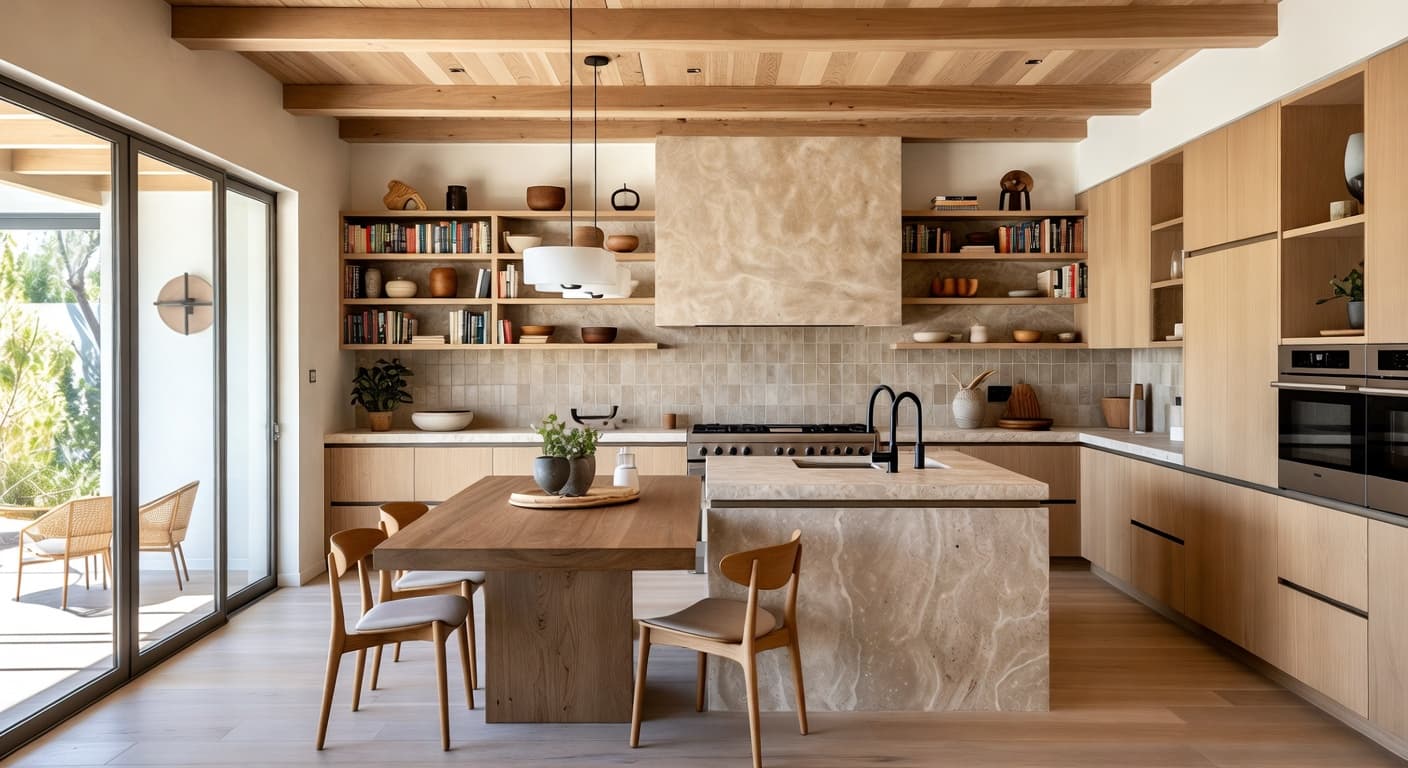
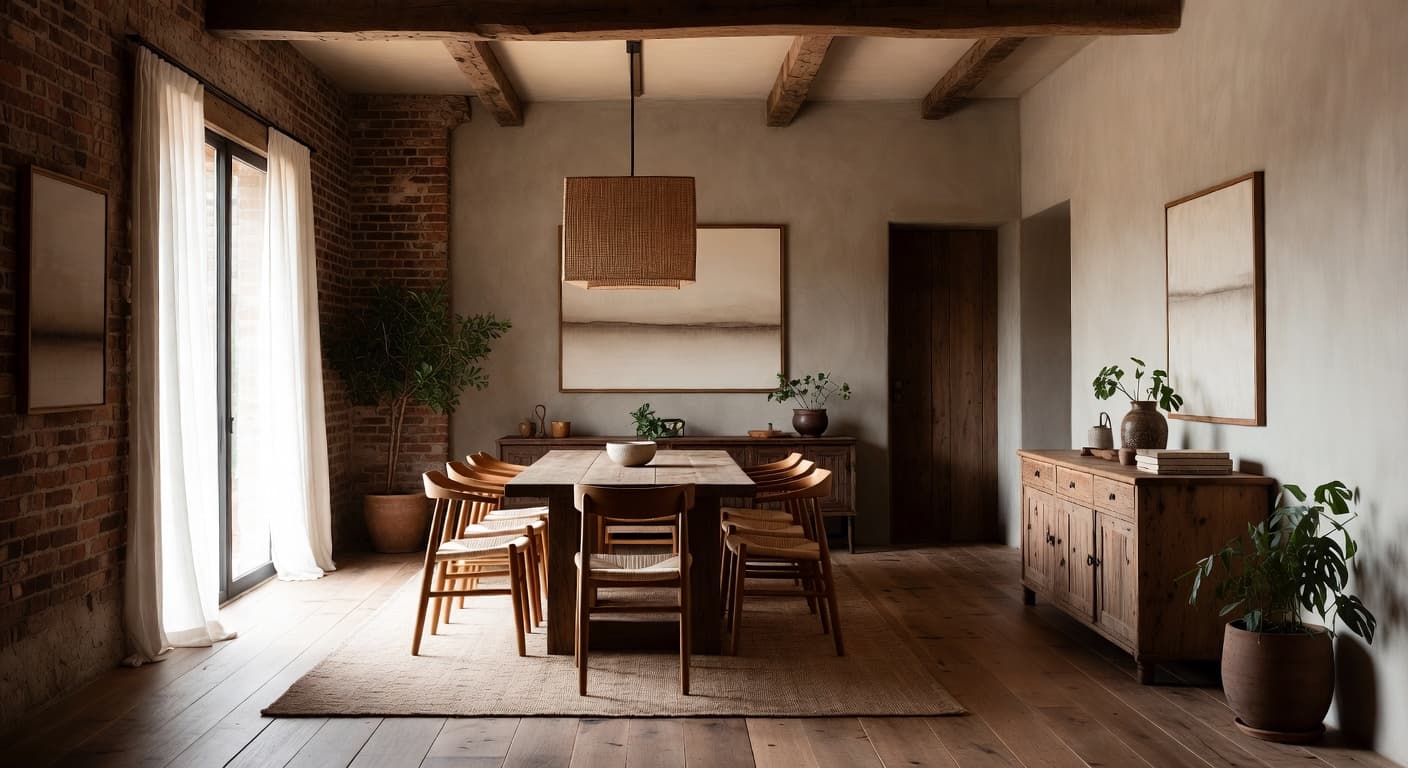
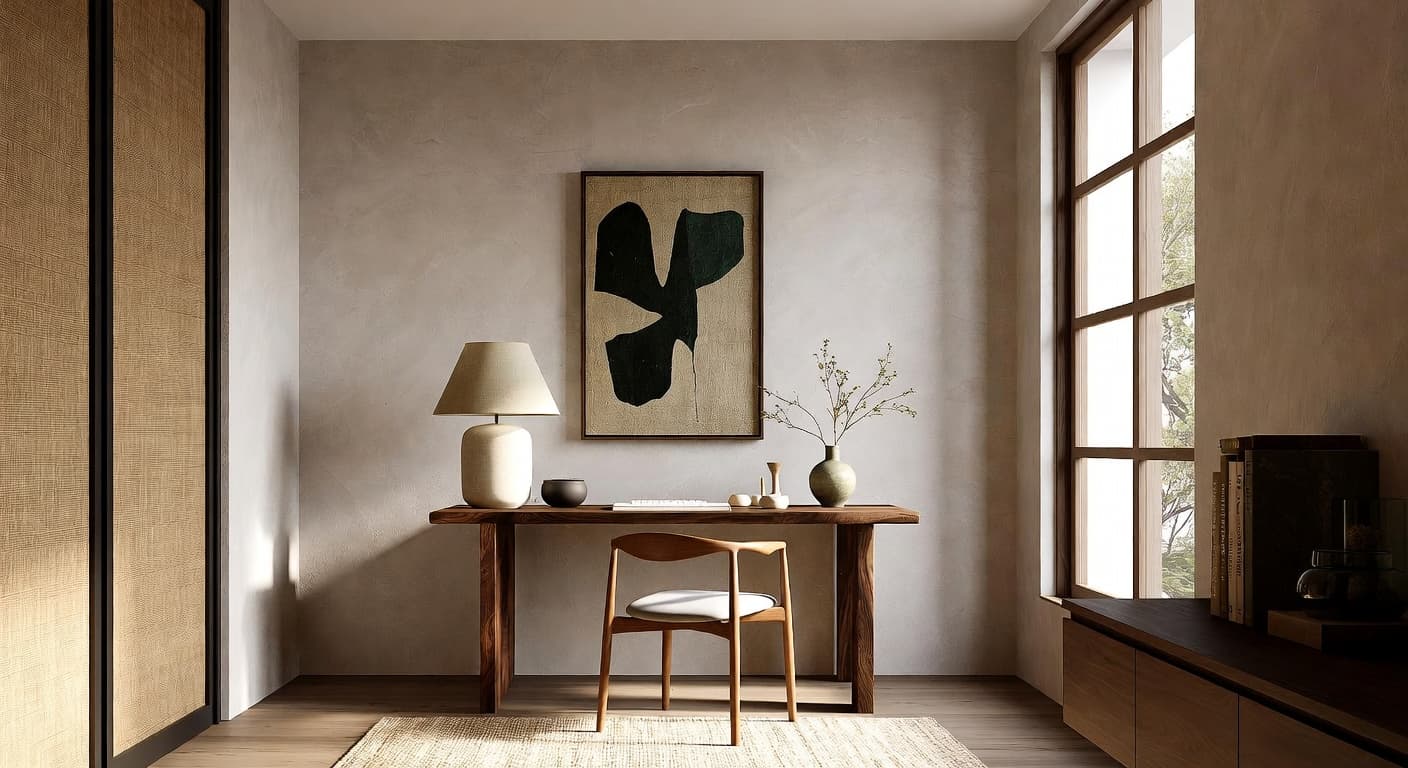
Wabi-sabi is a Japanese aesthetic philosophy that finds beauty in imperfection, impermanence, and incompleteness. As an interior design approach, it celebrates natural materials in their unfinished or aged state, handmade objects with visible irregularities, and spaces that show the patina of use and time.
Learn more about Wabi-Sabi style →Design Principles for a Wabi-Sabi Workshop
Embrace Imperfect beauty
In a wabi-sabi workshop, imperfect beauty forms the foundation of the design. Apply this to your main workbench and tool wall and key furniture pieces.
Balance Wabi-Sabi Materials
Incorporate raw wood, handmade ceramics, linen to achieve authentic wabi-sabi aesthetics. These materials work particularly well in workshops where tool organization and storage is important.
Prioritize Sturdy workbench placement
While maintaining wabi-sabi style, ensure your workshop meets its primary purpose of woodworking, repairs, projects, and hands-on crafts. Every design choice should support this function.
Layer Textures Thoughtfully
Combine raw edges and natural cracks textures to add depth. In a workshop, texture layering can enhance both comfort and visual interest.
Create Visual Flow
Use natural variations patterns and earth tones/mushroom tones to guide the eye through the space. This is especially important in workshops where allow room to work around projects; keep paths clear of cords.
Consider the Lighting
Soft and natural lighting is essential for wabi-sabi style. In your workshop, bright, shadow-free task lighting for precision work, so layer your light sources accordingly.
Color Palette Recommendations
A wabi-sabi workshop typically features earth tones and mushroom as the dominant colors, with rust or moss green for accents. These colors support woodworking, repairs, projects, and hands-on crafts while maintaining the wabi-sabi aesthetic.
Primary Colors
Accent Colors
Avoid bright colors and perfect finishes in your wabi-sabi workshop, as these can disrupt the intended atmosphere and clash with the style's core principles.
Furniture Essentials
Furniture in a wabi-sabi workshop should embody handcrafted and visible imperfections. Select pieces that serve the room's function while exemplifying wabi-sabi design principles.
Must-Have Pieces
- ✓handcrafted workbench
- ✓handcrafted tool storage
- ✓handcrafted pegboard or wall organization
- ✓handcrafted adequate lighting
- ✓handcrafted power outlets
Statement Pieces
- ★hand-thrown pottery
- ★reclaimed wood table
- ★vintage textiles
- ★unfinished wood bench
Pro Furniture Tips
When selecting furniture for your wabi-sabi workshop, prioritize workbench as your main investment. This piece will anchor the room and set the tone for the entire space.
Materials & Textures
The materials you choose will define your wabi-sabi workshop. Focus on raw wood, handmade ceramics, linen for furniture and finishes. For flooring, consider concrete or epoxy coating to complement the overall aesthetic.
Recommended Materials
Key Textures
Lighting Guide
Lighting in a wabi-sabi workshop should be soft and natural. Since workshops require bright, shadow-free task lighting for precision work, combine wabi-sabi fixtures with practical task lighting.
Recommended Fixtures
Lighting Tips
- •Use 5000K daylight bulbs for accuracy
- •Position lights to minimize shadows
- •Add task lighting at each work area
- •Choose fixtures that embody wabi-sabi aesthetics while providing adequate illumination for woodworking, repairs, projects, and hands-on crafts.
Layout & Arrangement
When planning your wabi-sabi workshop layout, remember that Visible wear and aging is key. The room should accommodate allow room to work around projects; keep paths clear of cords while creating wabi-sabi's signature atmosphere.
Focal Point
In a wabi-sabi workshop, the focal point is typically main workbench and tool wall, styled with hand-thrown pottery to embody the wabi-sabi aesthetic.
Layout Priorities
- 1.Central workbench placement
- 2.Power tool zones
- 3.Clear floor space for large projects
- 4.Safety access to exits
Common Mistakes to Avoid
- ✕Over-styling: Adding too many wabi-sabi elements can overwhelm the space. Remember, find beauty in imperfection .
- ✕Ignoring function: Don't sacrifice woodworking, repairs, projects, and hands-on crafts for style. Your workshop must work for daily life.
- ✕Wrong scale: Choosing furniture that's too large or small for your workshop disrupts both function and wabi-sabi aesthetics.
- ✕Neglecting lighting: Poor lighting undermines even the best wabi-sabi design. Layer your light sources appropriately.
- ✕Mismatched materials: Using materials like bright colors can clash with wabi-sabi principles.
💡 Designer Pro Tips
- •Start with the workbench - it's the anchor of your wabi-sabi workshop and worth investing in quality.
- •Layer textures using raw edges and natural cracks to add depth and interest without cluttering the space.
- •Find beauty in imperfection - embrace the natural cycle of growth and decay.
- •Consider the workshop's natural light when selecting earth tones tones - they can appear differently throughout the day.
- •Add personal touches that complement the wabi-sabi aesthetic - your space should feel lived-in, not like a showroom.
Frequently Asked Questions
What defines a wabi-sabi workshop?
A wabi-sabi workshop is characterized by Imperfect beauty, Natural materials, Visible wear and aging, and the use of raw wood, handmade ceramics, linen. It balances the wabi-sabi aesthetic with the functional requirements of a workshop.
What colors work best in a wabi-sabi workshop?
The ideal color palette includes earth tones, mushroom, sage as primary colors, with rust or moss green as accents. Avoid bright colors and perfect finishes as they can disrupt the wabi-sabi atmosphere.
How do I achieve wabi-sabi style on a budget?
Focus your budget on workbench and tool storage first. Add wabi-sabi elements gradually through raw edges textiles, rust accents, and raw wood accessories.
What furniture is essential for a wabi-sabi workshop?
Essential pieces include workbench, tool storage, pegboard or wall organization. Look for furniture with handcrafted and visible imperfections characteristics. Statement pieces like a hand-thrown pottery can anchor the design.
Explore More Design Tools
Discover more ways to transform your workshop with our AI-powered design platform.
Design Your Workshop with AI
Upload a photo of your space and instantly transform it into a stunning wabi-sabi workshop.
Try It Free